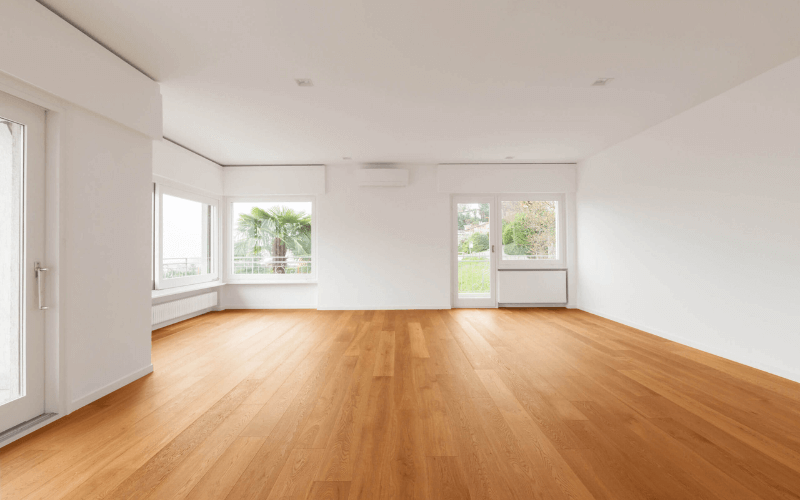
Luckily, with the right tools and appropriate methods, you can restore the once eye-catching appearance of your wood floors. To learn how so, read this blog and embark on an expert-led journey to unlock secrets to sparkling clean and stunningly vibrant wood floors.
A Step-By-Step Expert Guide For Cleaning Your Wood Floors
⇒ Prepare The Area
For a thorough and precise cleaning of the wood floor, it is essential to cover each and every part or section of the wood, so make sure you keep the entire area clean.
Start by moving heavy furniture to a separate room or picking up any unwanted items from the floor. Also, ask your kids to avoid walking or playing over the floor until it’s been cleaned or dried enough to do so.
⇒ Gather The Supplies
Now, gather all your supplies, which include a dust mop, broom, vacuum, sponge mop, and a commercial wood floor cleaner. Also, add a few homemade ingredients to the list, such as baking soda or vinegar, to make a DIY solution.
⇒ Dust The Floor
Once you’ve gathered your supplies, start cleaning your wood floor by running a dust mop or microfiber mop to remove dirt, dust, pet hair, and other debris from the surface.
These tiny particles seem normal but are actually abrasive and can interfere with the cleaning process, thus increasing the risk of damage and other scratch marks. Cleaning them prior ensures a thorough and more efficient cleaning.
⇒ Start Vacuuming
In addition to a dust mop or microfibre mop, you can also vacuum the floor ( if you have one ) as it reaches deeper into areas like grooves or corners, sucks up these hidden culprits, and helps maintain your wood in the long run.
But before you begin, make sure you avoid using a vacuum cleaner that has a beater bar, as such vacuum appliances can scratch your wood vigorously. So, instead, use the one that has a hardwood floor attachment.
⇒ Use A Commercial Cleaner
If you’ve invested in a commercial cleaner, ensure you read the instructions prior and confirm whether it’s a suitable product for your wood. If it is, sprinkle the solution over the wood, wring out the mop thoroughly, and start mopping in the direction of the grain to avoid streaks.
⇒ Make A DIY Solution
The option next to commercial products is a DIY solution made using simple homemade ingredients, mainly vinegar. Mix ½ cup of white vinegar with lukewarm water in a bucket and test the solution on an unnoticeable part of the floor to ensure it doesn’t damage the finish.
If it seems workable, dip your microfiber mop in the bucket, wring it out properly, and start cleaning the floor. When cleaning, try working the mop in a snaky pattern to ensure you don’t miss any spots and provide more even distribution of the cleaning solution.
⇒ Let The Floor Dry Thoroughly
After mopping, go over the floor again with a dry microfiber mop to soak up any remaining cleaning solution. For larger rooms, turn on the ceiling fans or use table fans to speed up the process, and avoid walking or placing rugs and furniture back on the wood until it dries thoroughly.
Conclusion
So, this blog equipped you with vital knowledge to restore the once-pristine appearance of your wood floors when they take the brunt of daily use and start losing their charm. Following this step-by-step process, you can keep your hardwood looking their best for years.


